Plotter Update: Robot Invasion
Working with GCODE
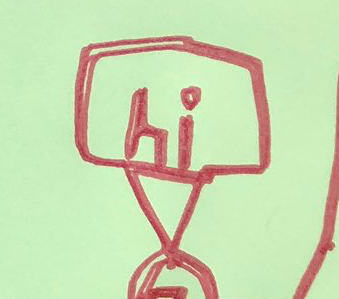
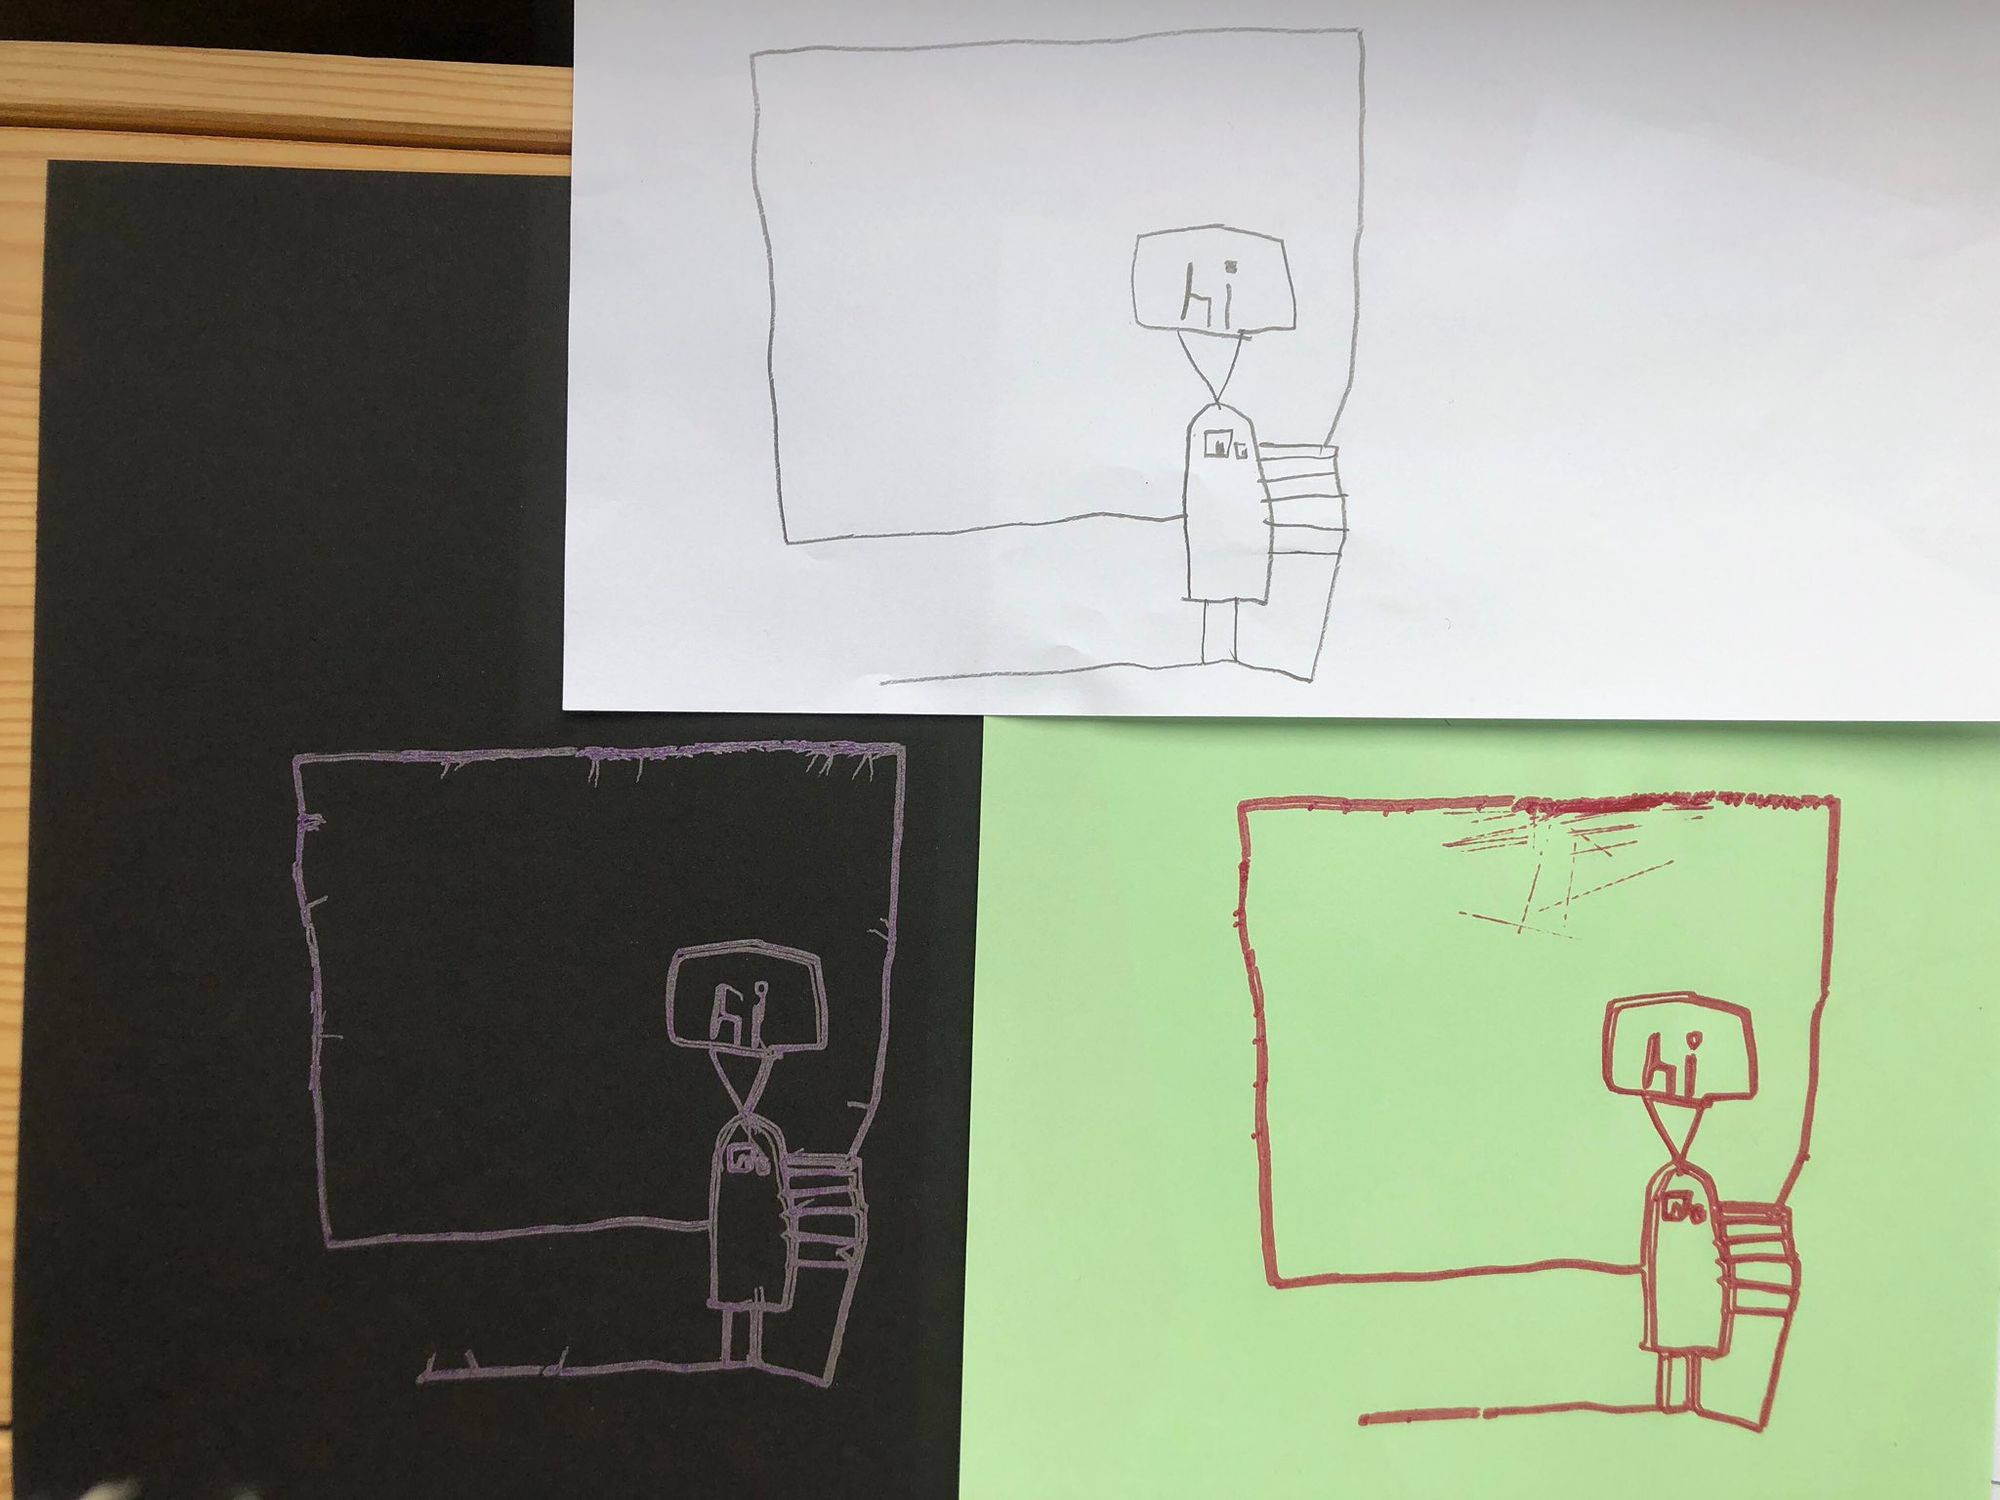
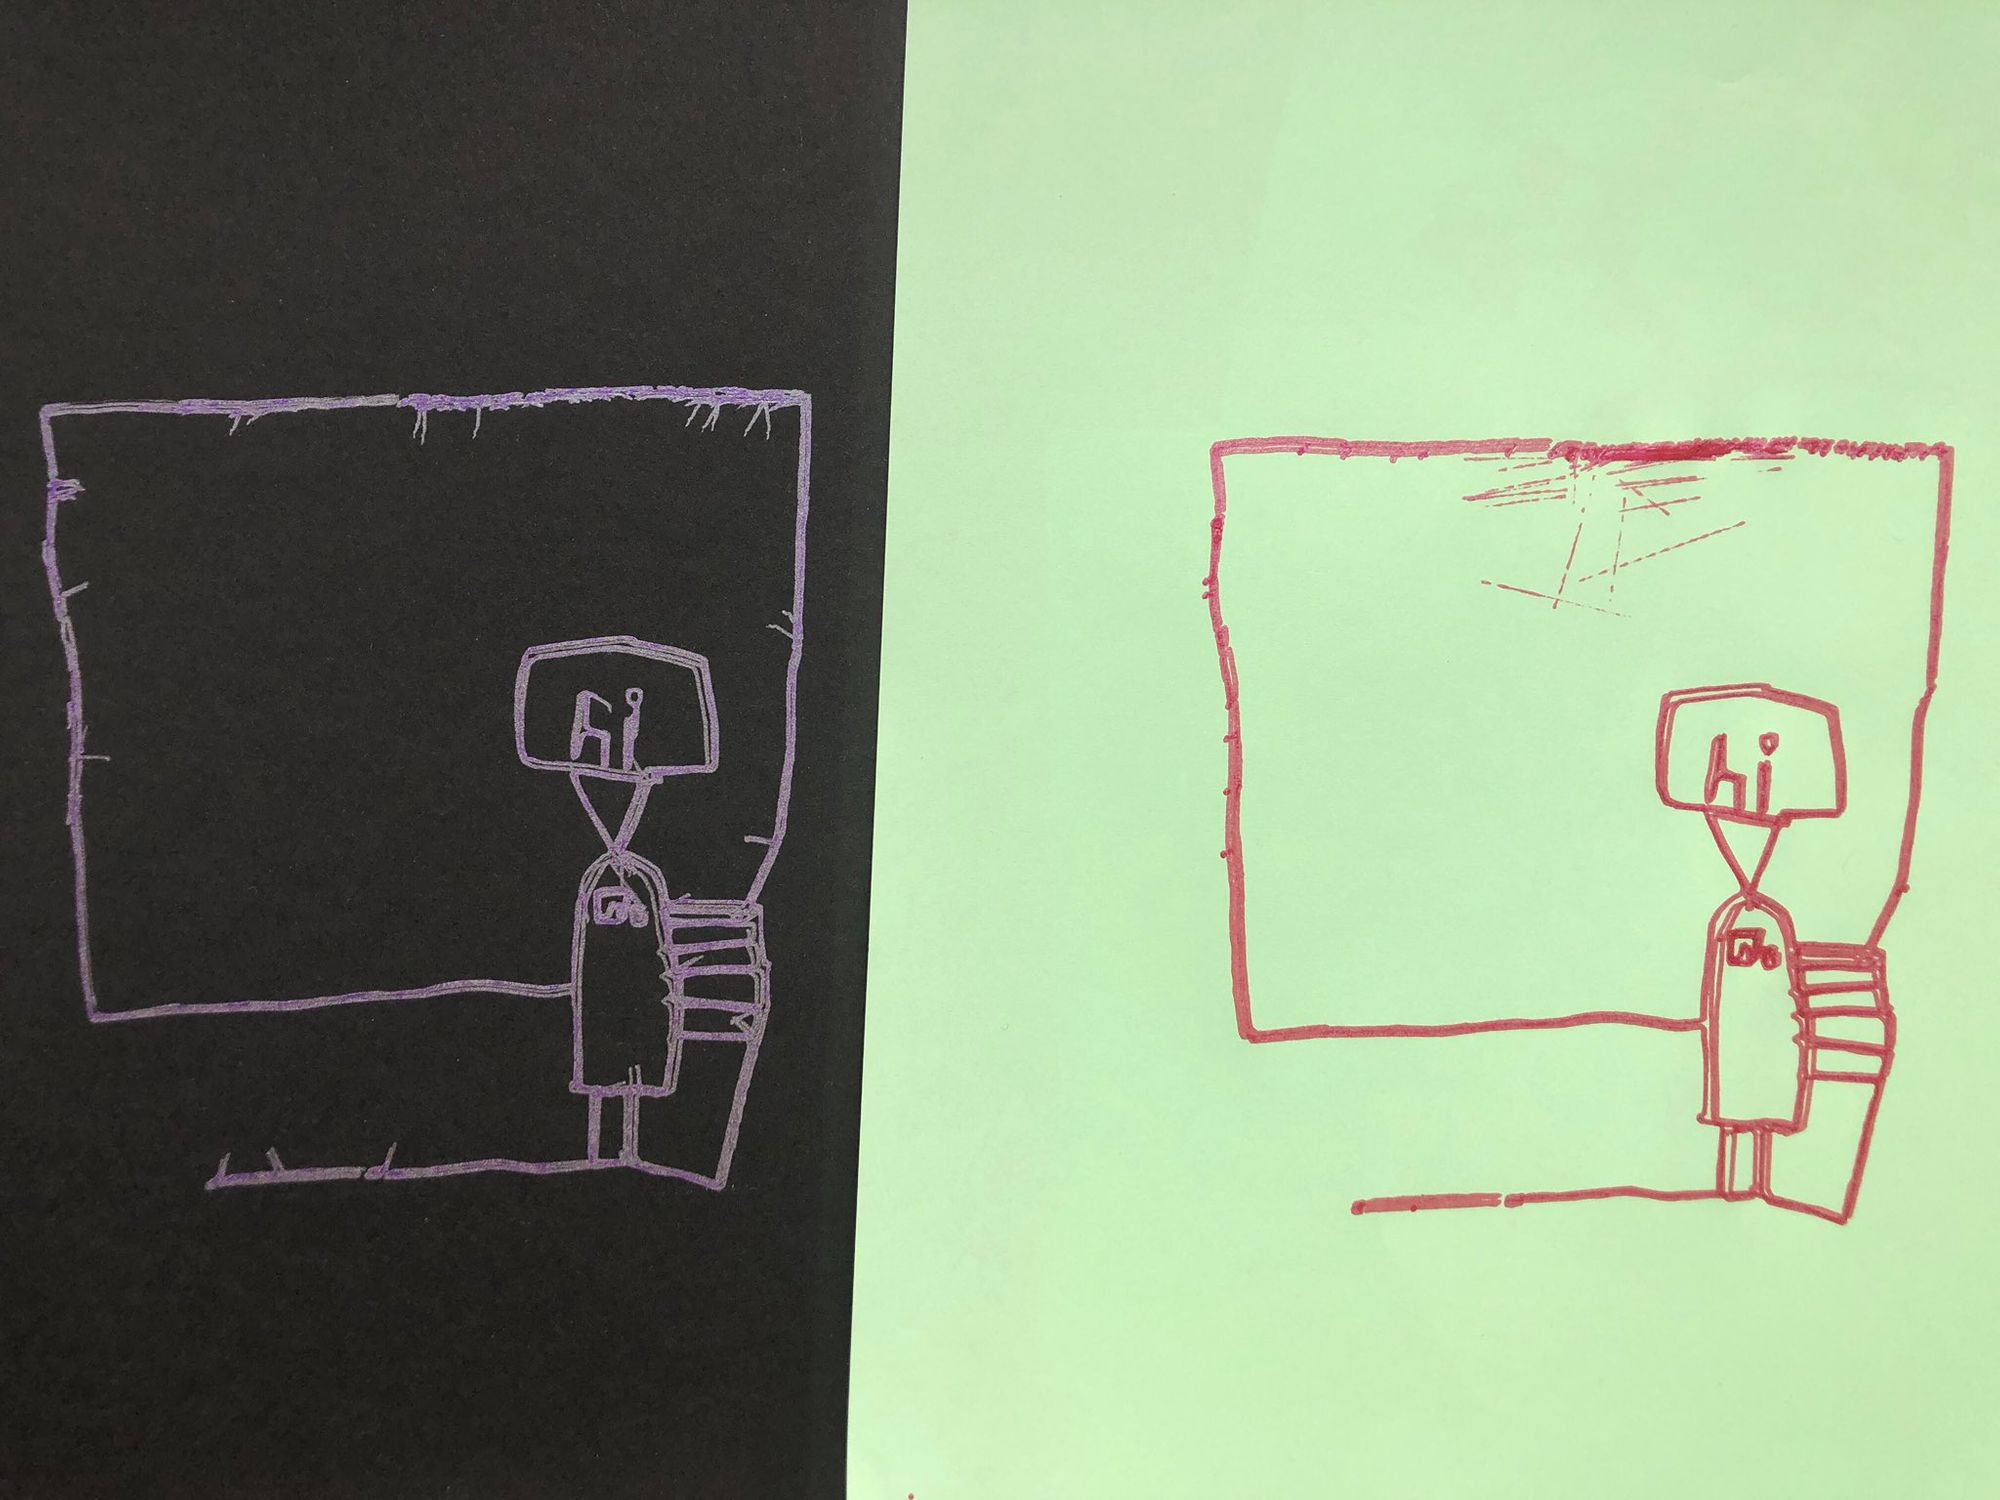
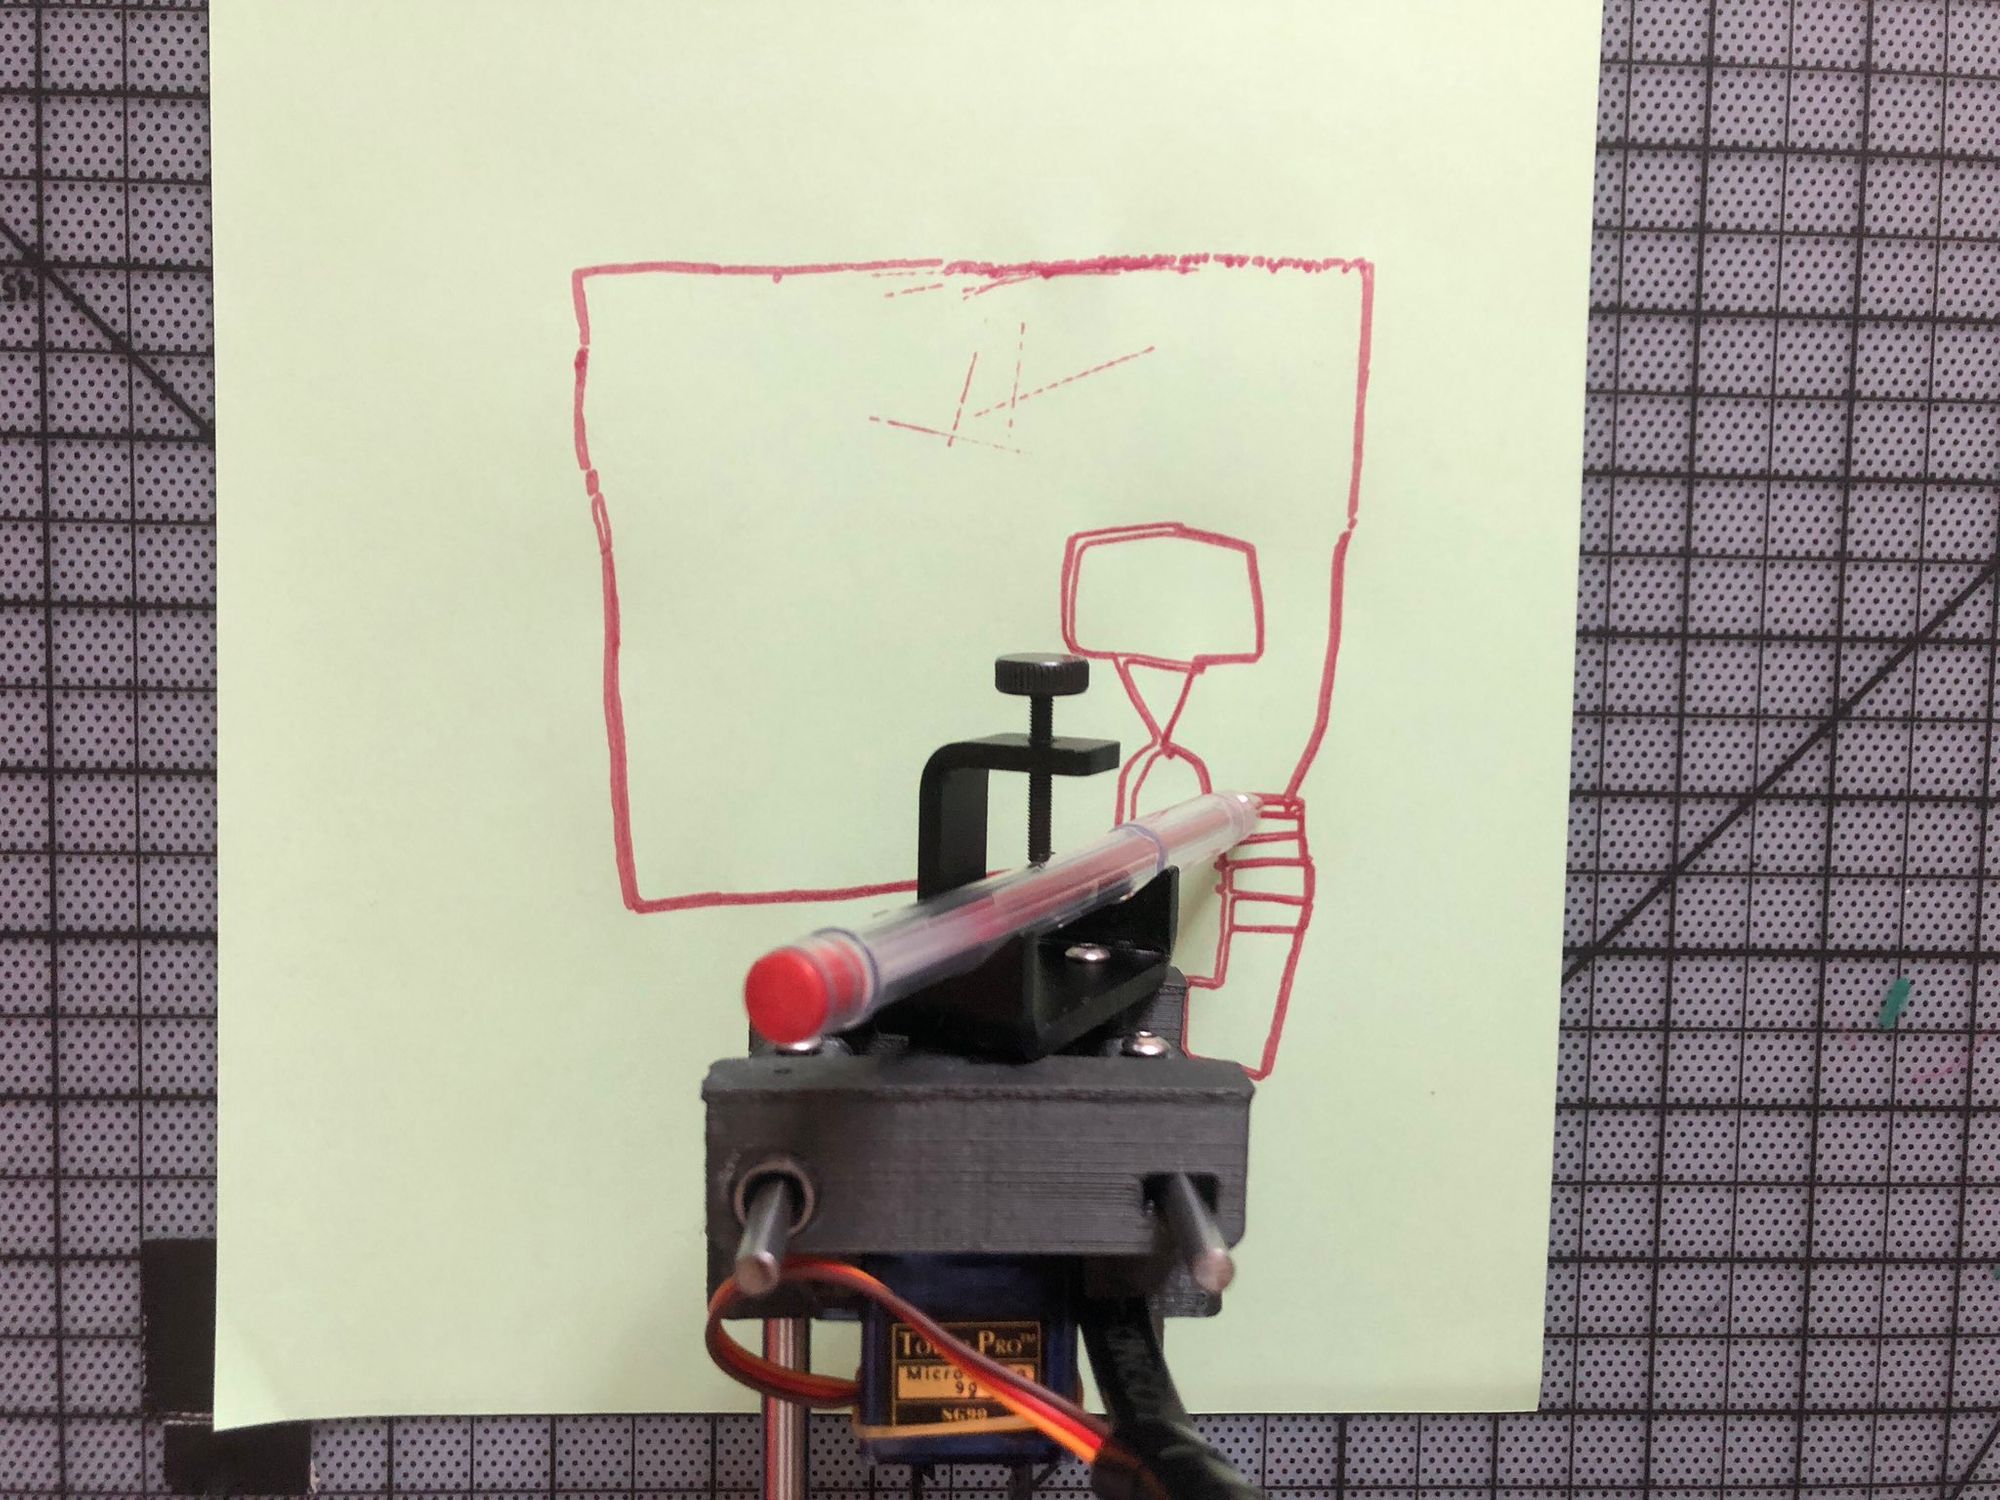
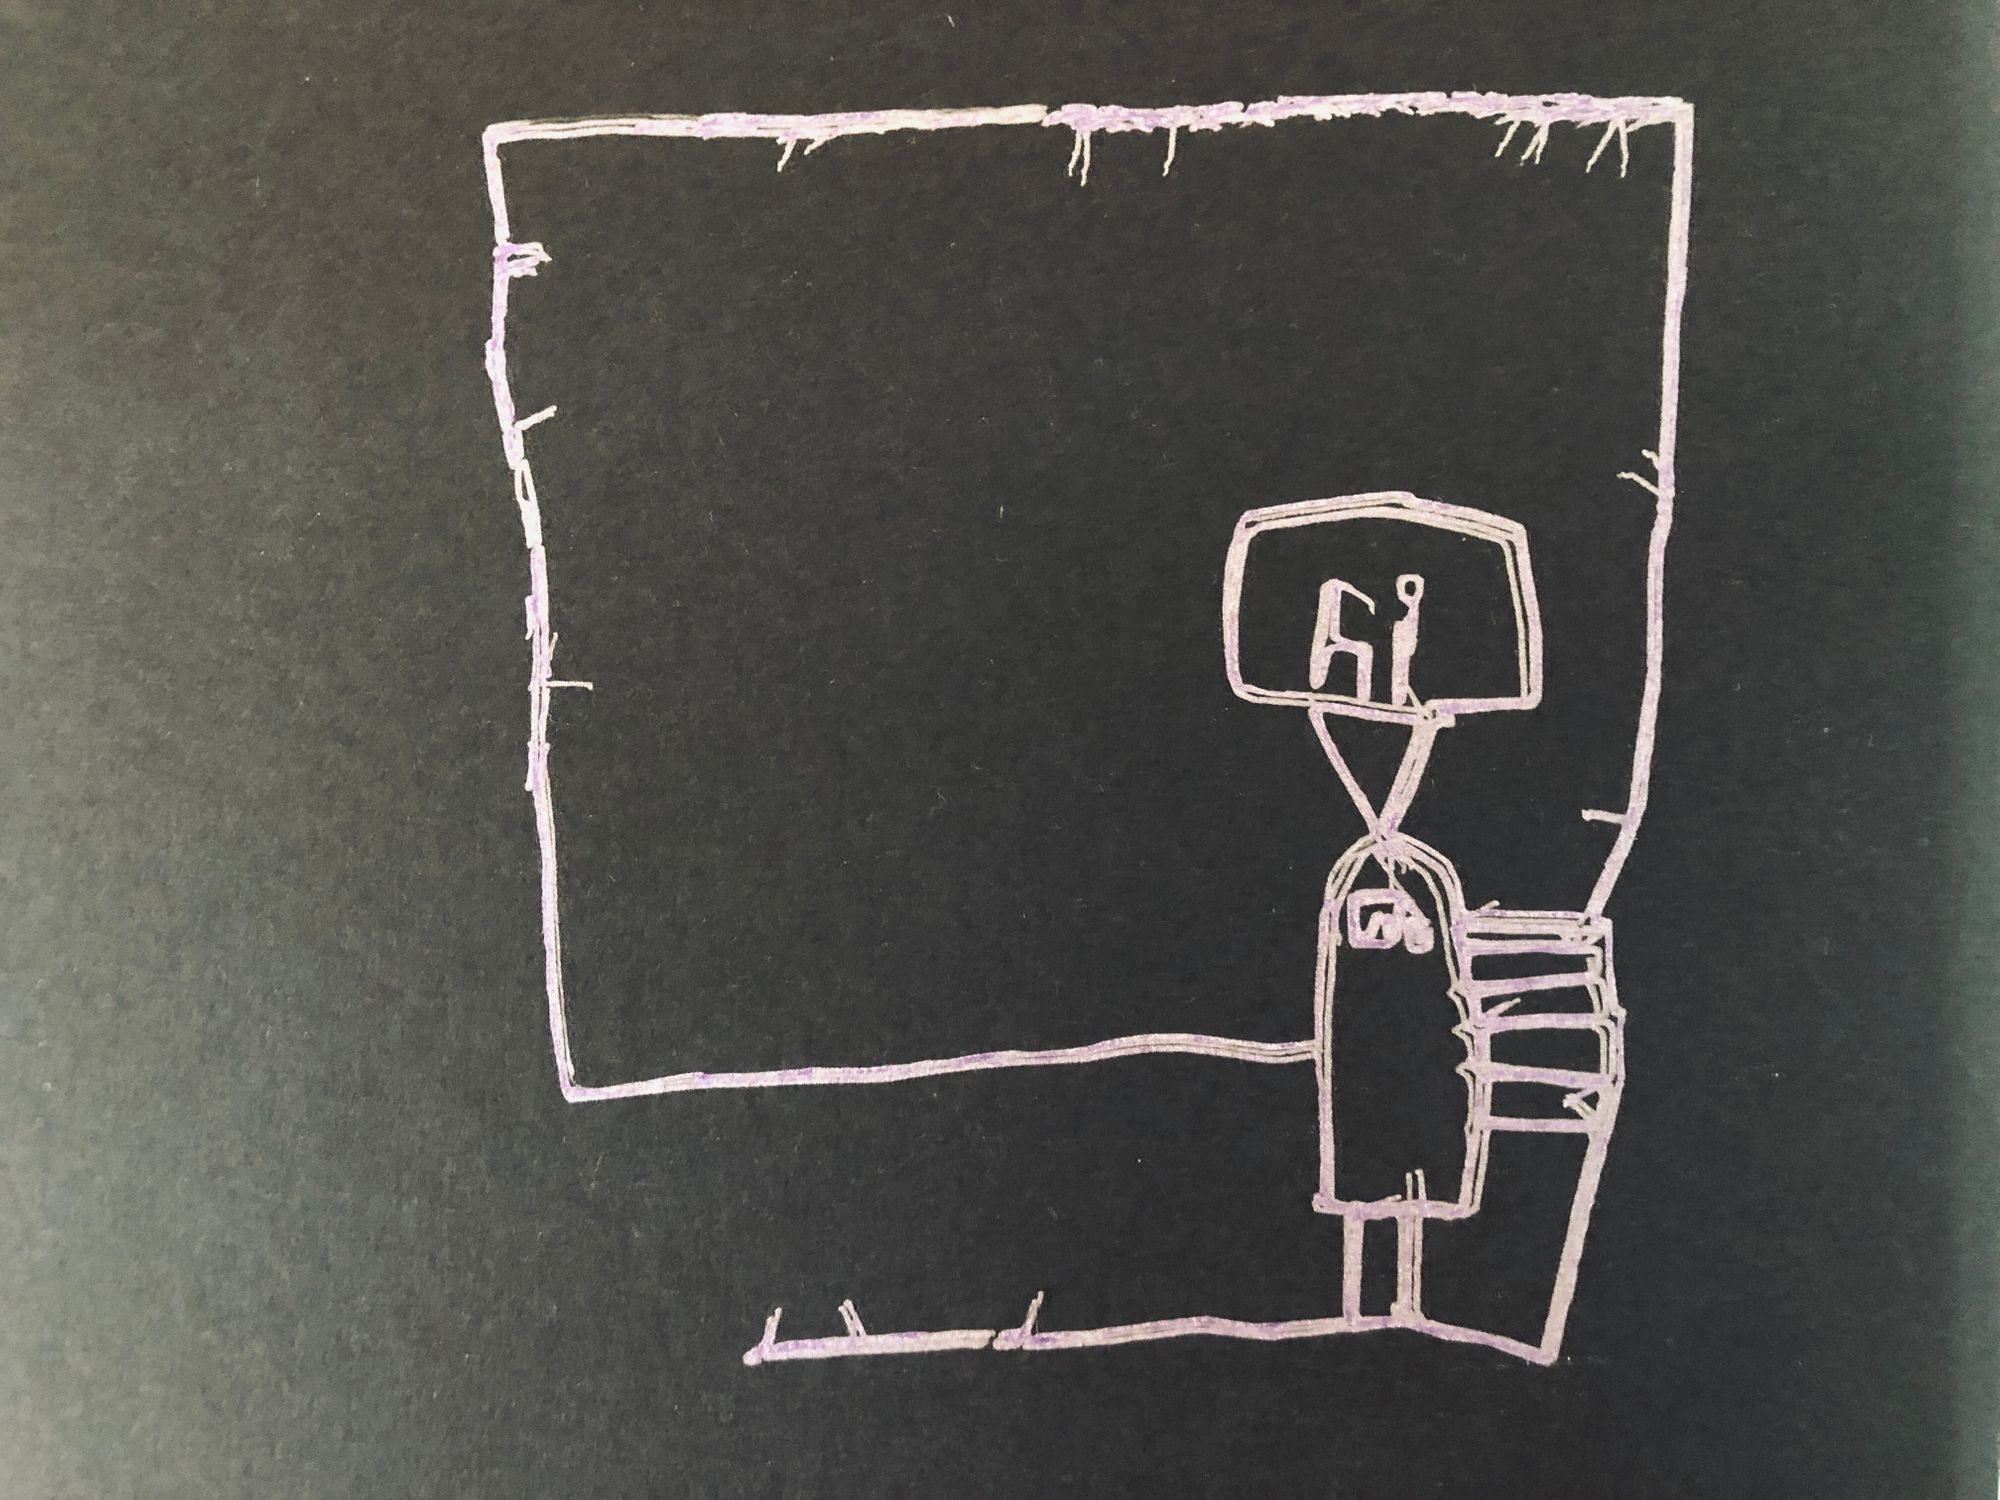
The plugin that my inexpensive plotter uses to generate GCODE from SVG requires Inkscape which is painfully slow. I've also noticed while plotting that the pen often doesn't make it off the paper in time for the plotter to start moving again, leaving little "tails" around the print (see the purple on black drawing below). There are a million ways to address these problems, one would be to simply slow the printer down, but although it doesn't photograph particularly well I really like the line quality I'm seeing from the metallic ink gel rollers (Thank you Anindita for ordering me a surprise pack when I couldn't find them at our local store!).
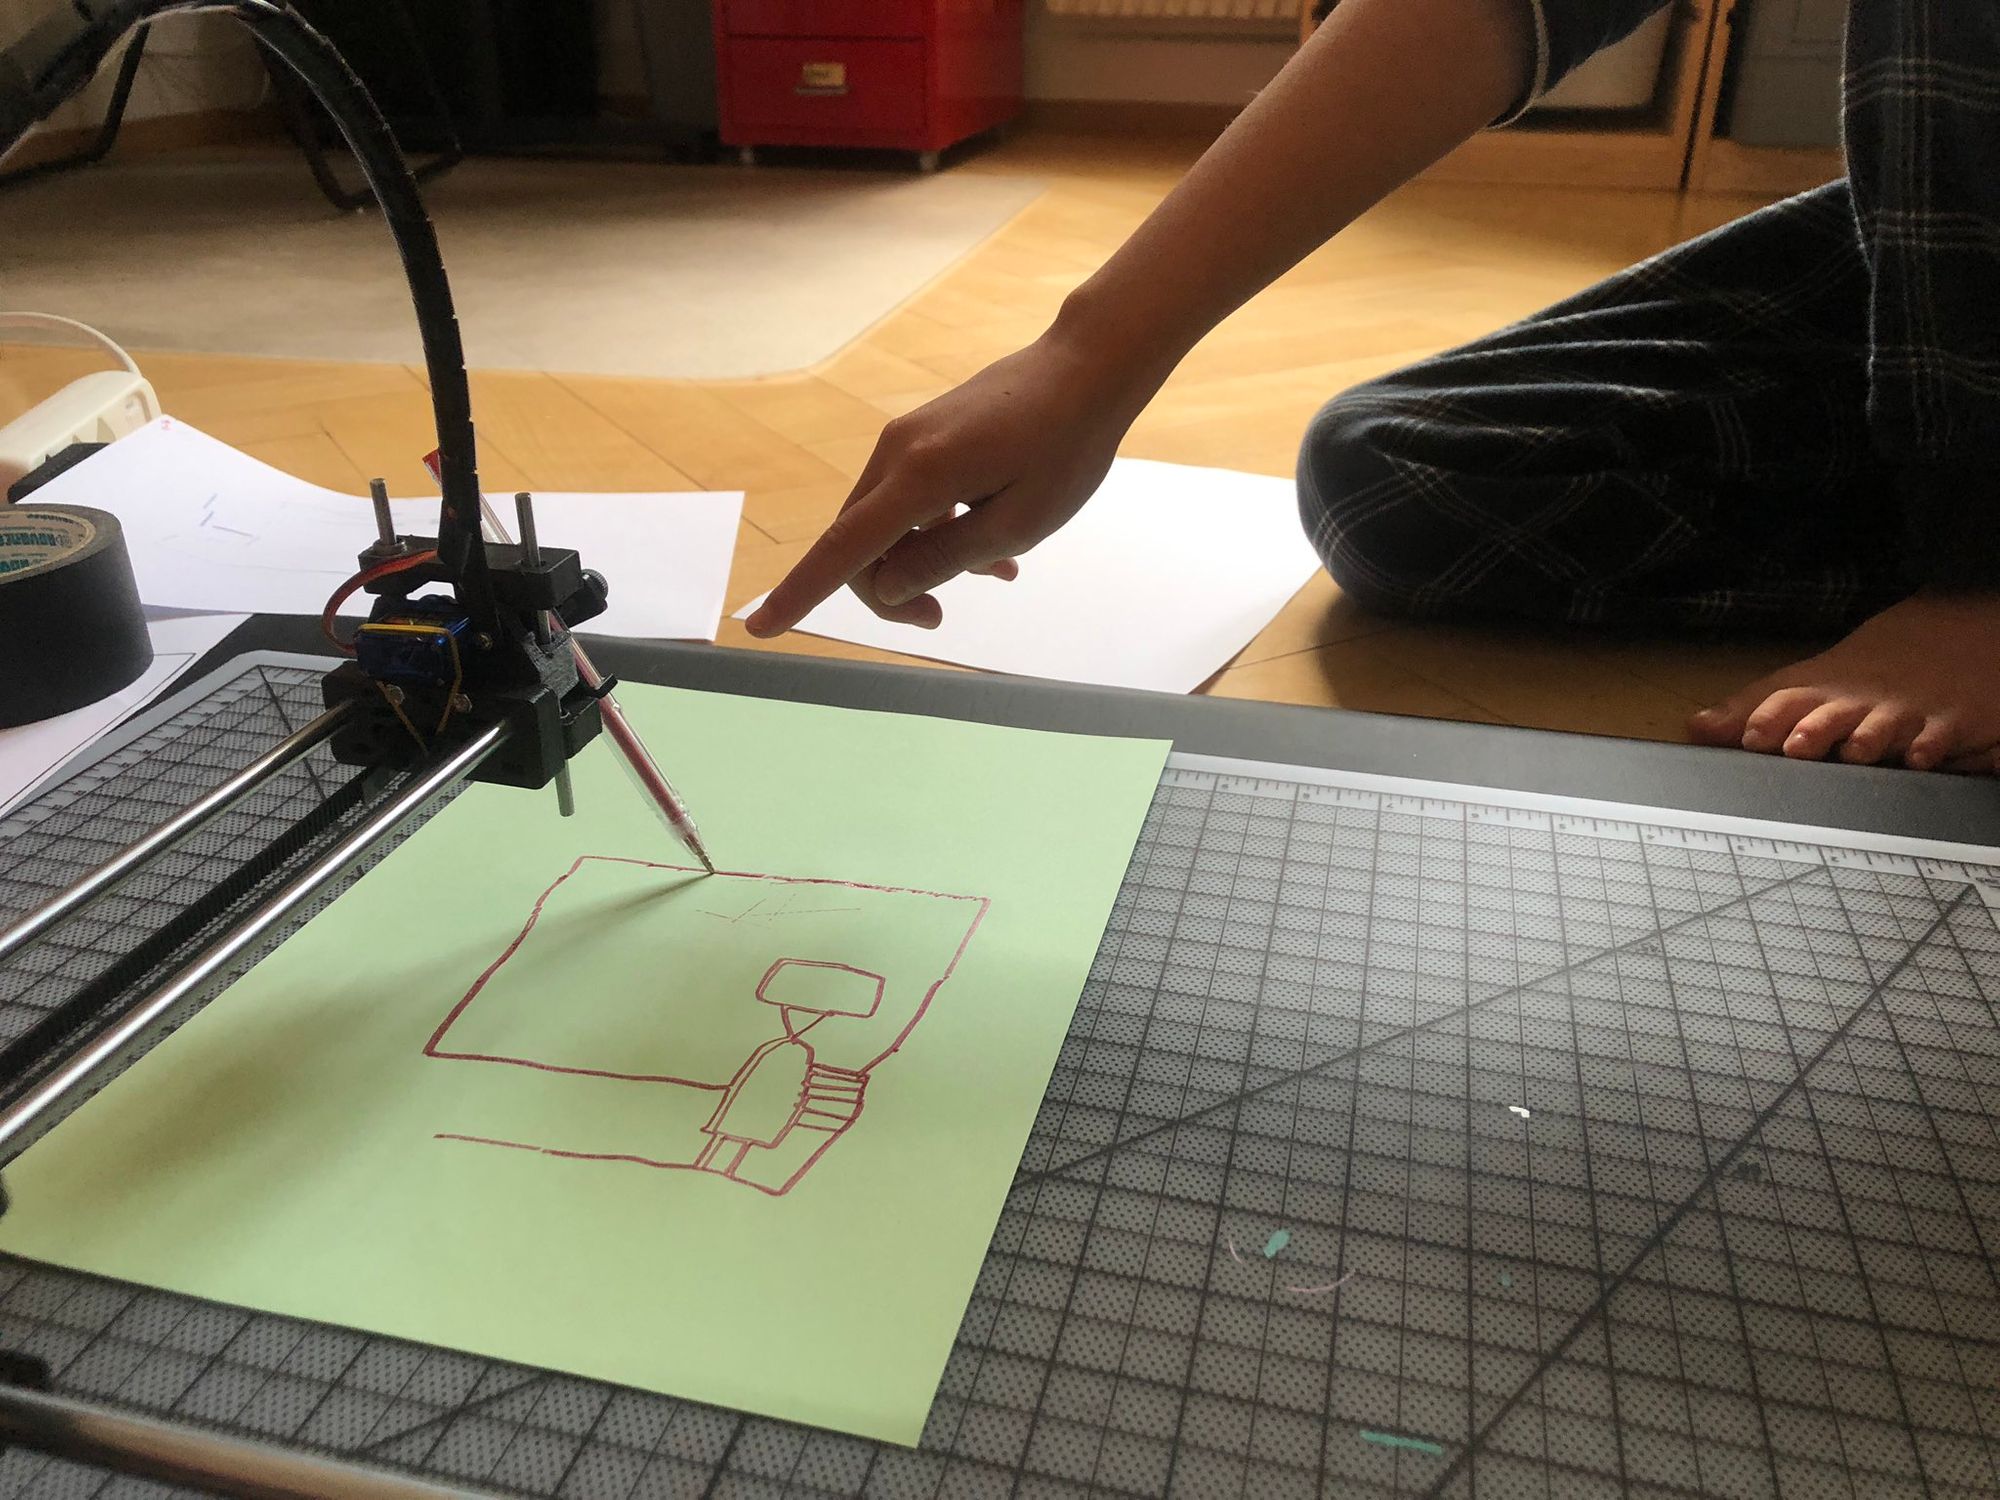
I wanted to see if I could improved drawing quality by introducing a pause after each pen lift, to give the mechanism a second to settle before moving to a new position.
I'd also rather work in a different vector software and have my SVGs converted automatically to GCODE when I save the file, instead of slowly importing things in Inkscape and slowly running the slow extension to slowly output the slowly converted file (did I mention it's slow?)
It turns out the J Tech Photonics Laser Tool extension is open source and essentially a Python wrapper to svg_to_gcode (V2 is! If you download any of the legacy branch, currently distributed on their main page, you will notice the Python code is quite different. I'd recommend sticking with the newer code which uses the svg_to_gcode library, but if you want to see how you might do this conversion task manually, it's worth spelunking the 'legacy' branch).
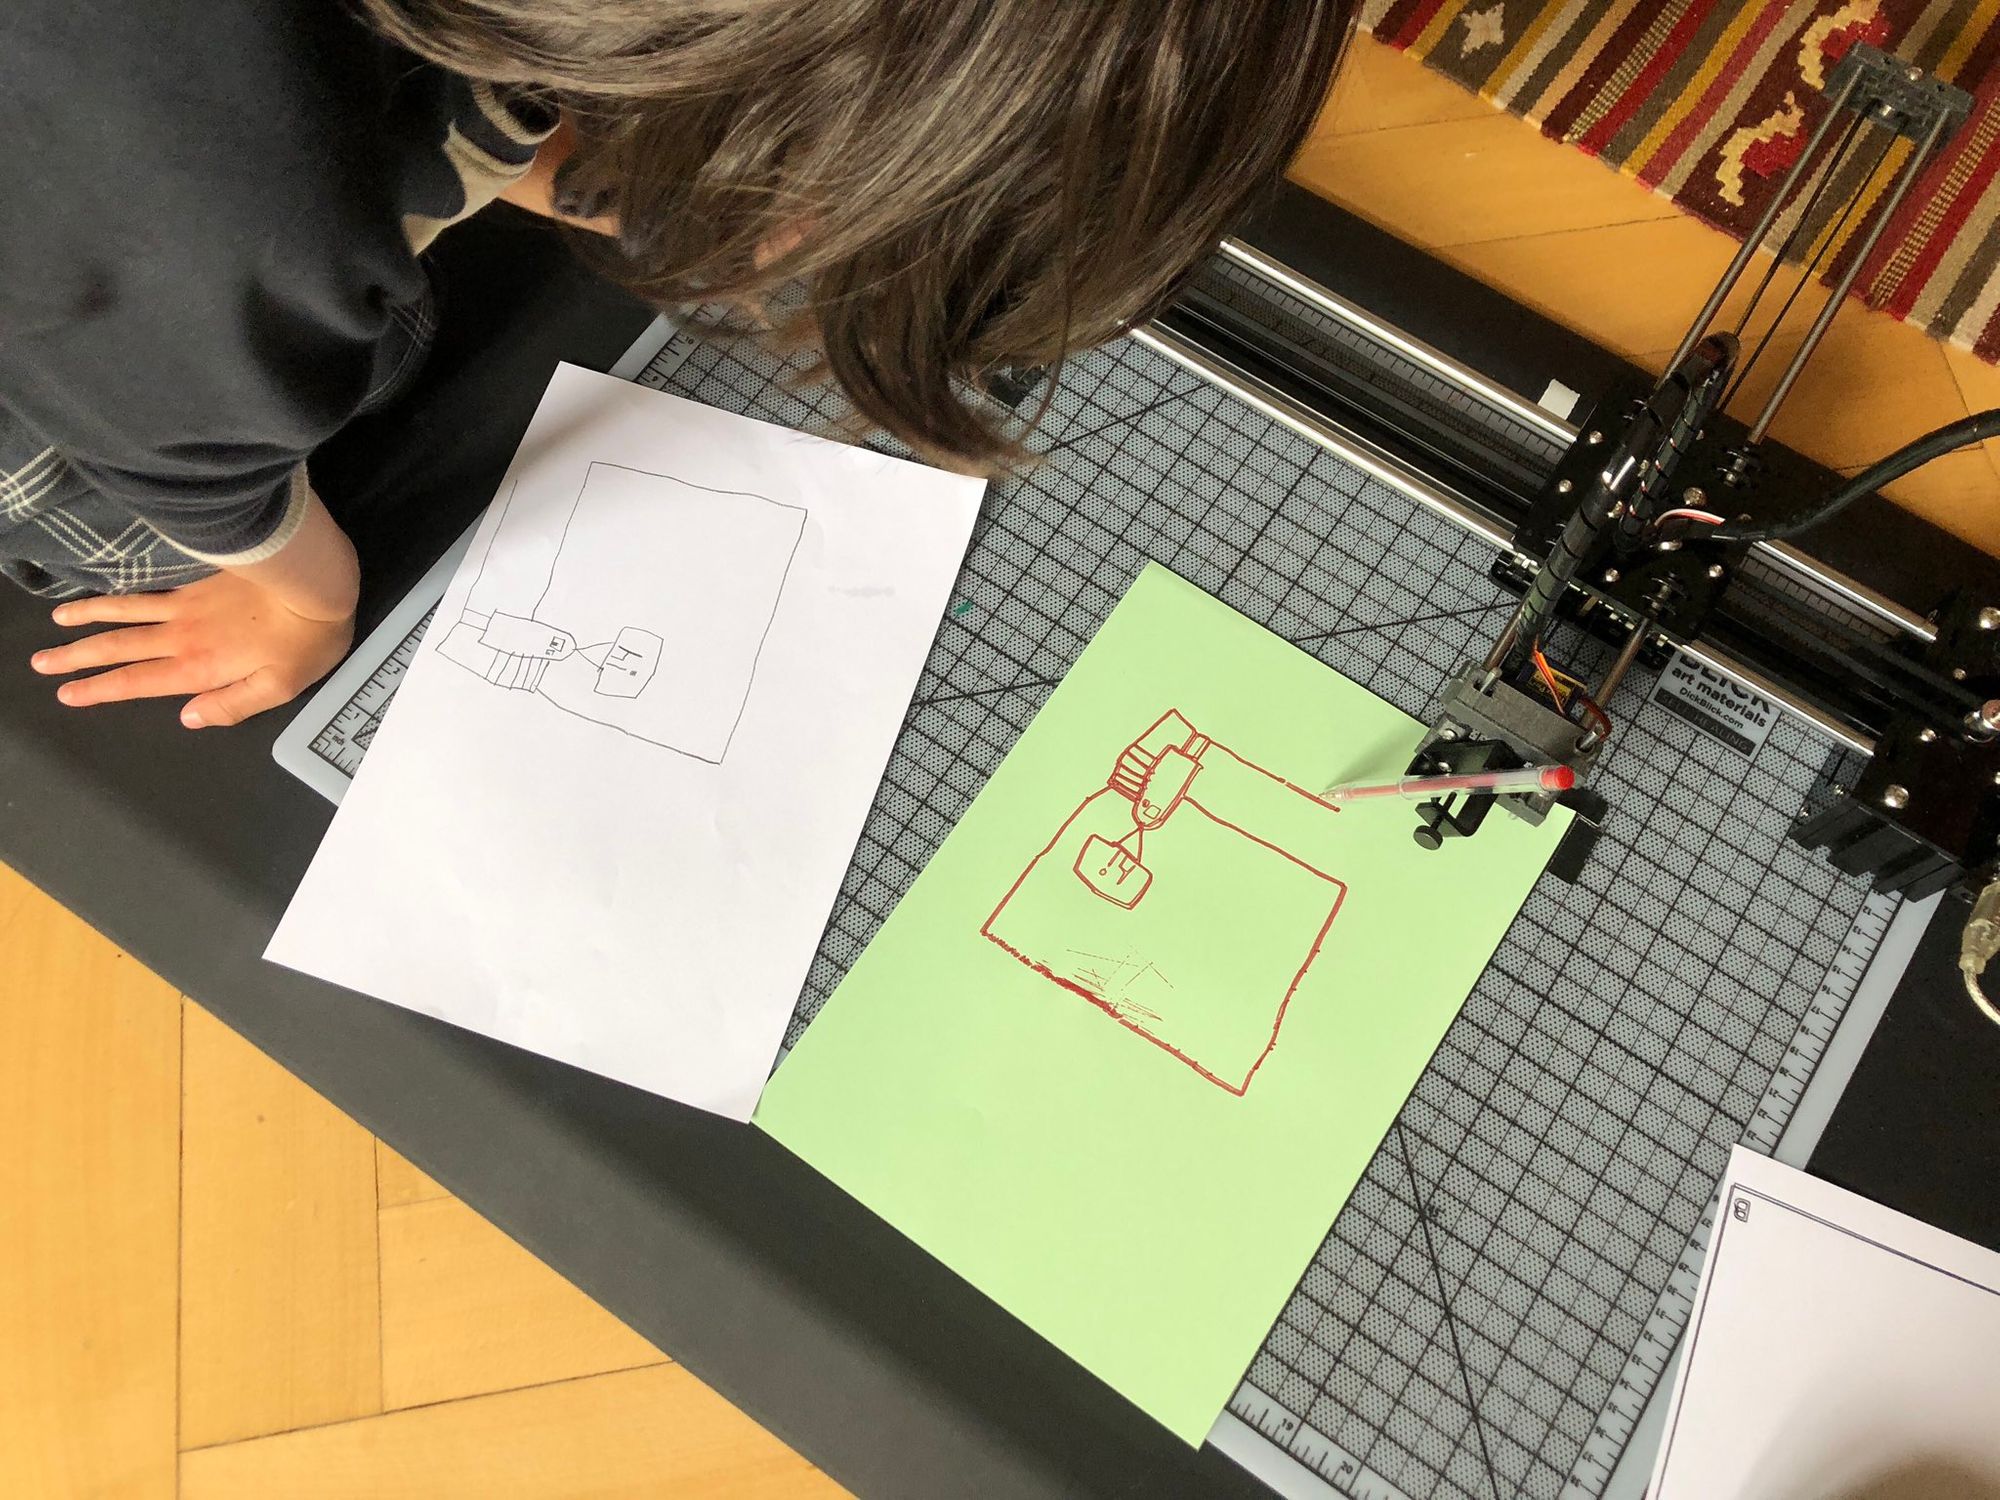
In any case, it was short work to rewrite the plugin to handle command line input, and via watchdog, to keep an eye on a directory. Now whenever i save SVG files to the watched directory, the script picks them up and makes me a GCODE file, which I can preview in Universal Gcode Sender.
A few tips if you're following along:
- The sample GCODE that the plotter includes is generated by the legacy JTech Photonics plugin, which generates a cutting instruction instead of "Pen Down." The new plugin (and consequently my scripts) use the better formatted svg_to_gcode lib. One consequence is that the preview panel in UGS shows all blue lines, rather than blue for transit and red for drawing like the sample code that ships. Both work fine. It would be cool to have the color coding in preview, but the newer GCODE output is much cleaner, so worth the tradeoff.
- I noticed some files coming in scaled in a strange way (far larger than they should be). Ultimately I noticed that I had some hidden layers in the source SVG file which were turned off in Inkscape/Illustrator but still caused the plugin/script to generate extremely large output. I don't know the source of this or how to prevent it, but meanwhile if you're getting weird size issues, check for (and delete) hidden layers in your source file.
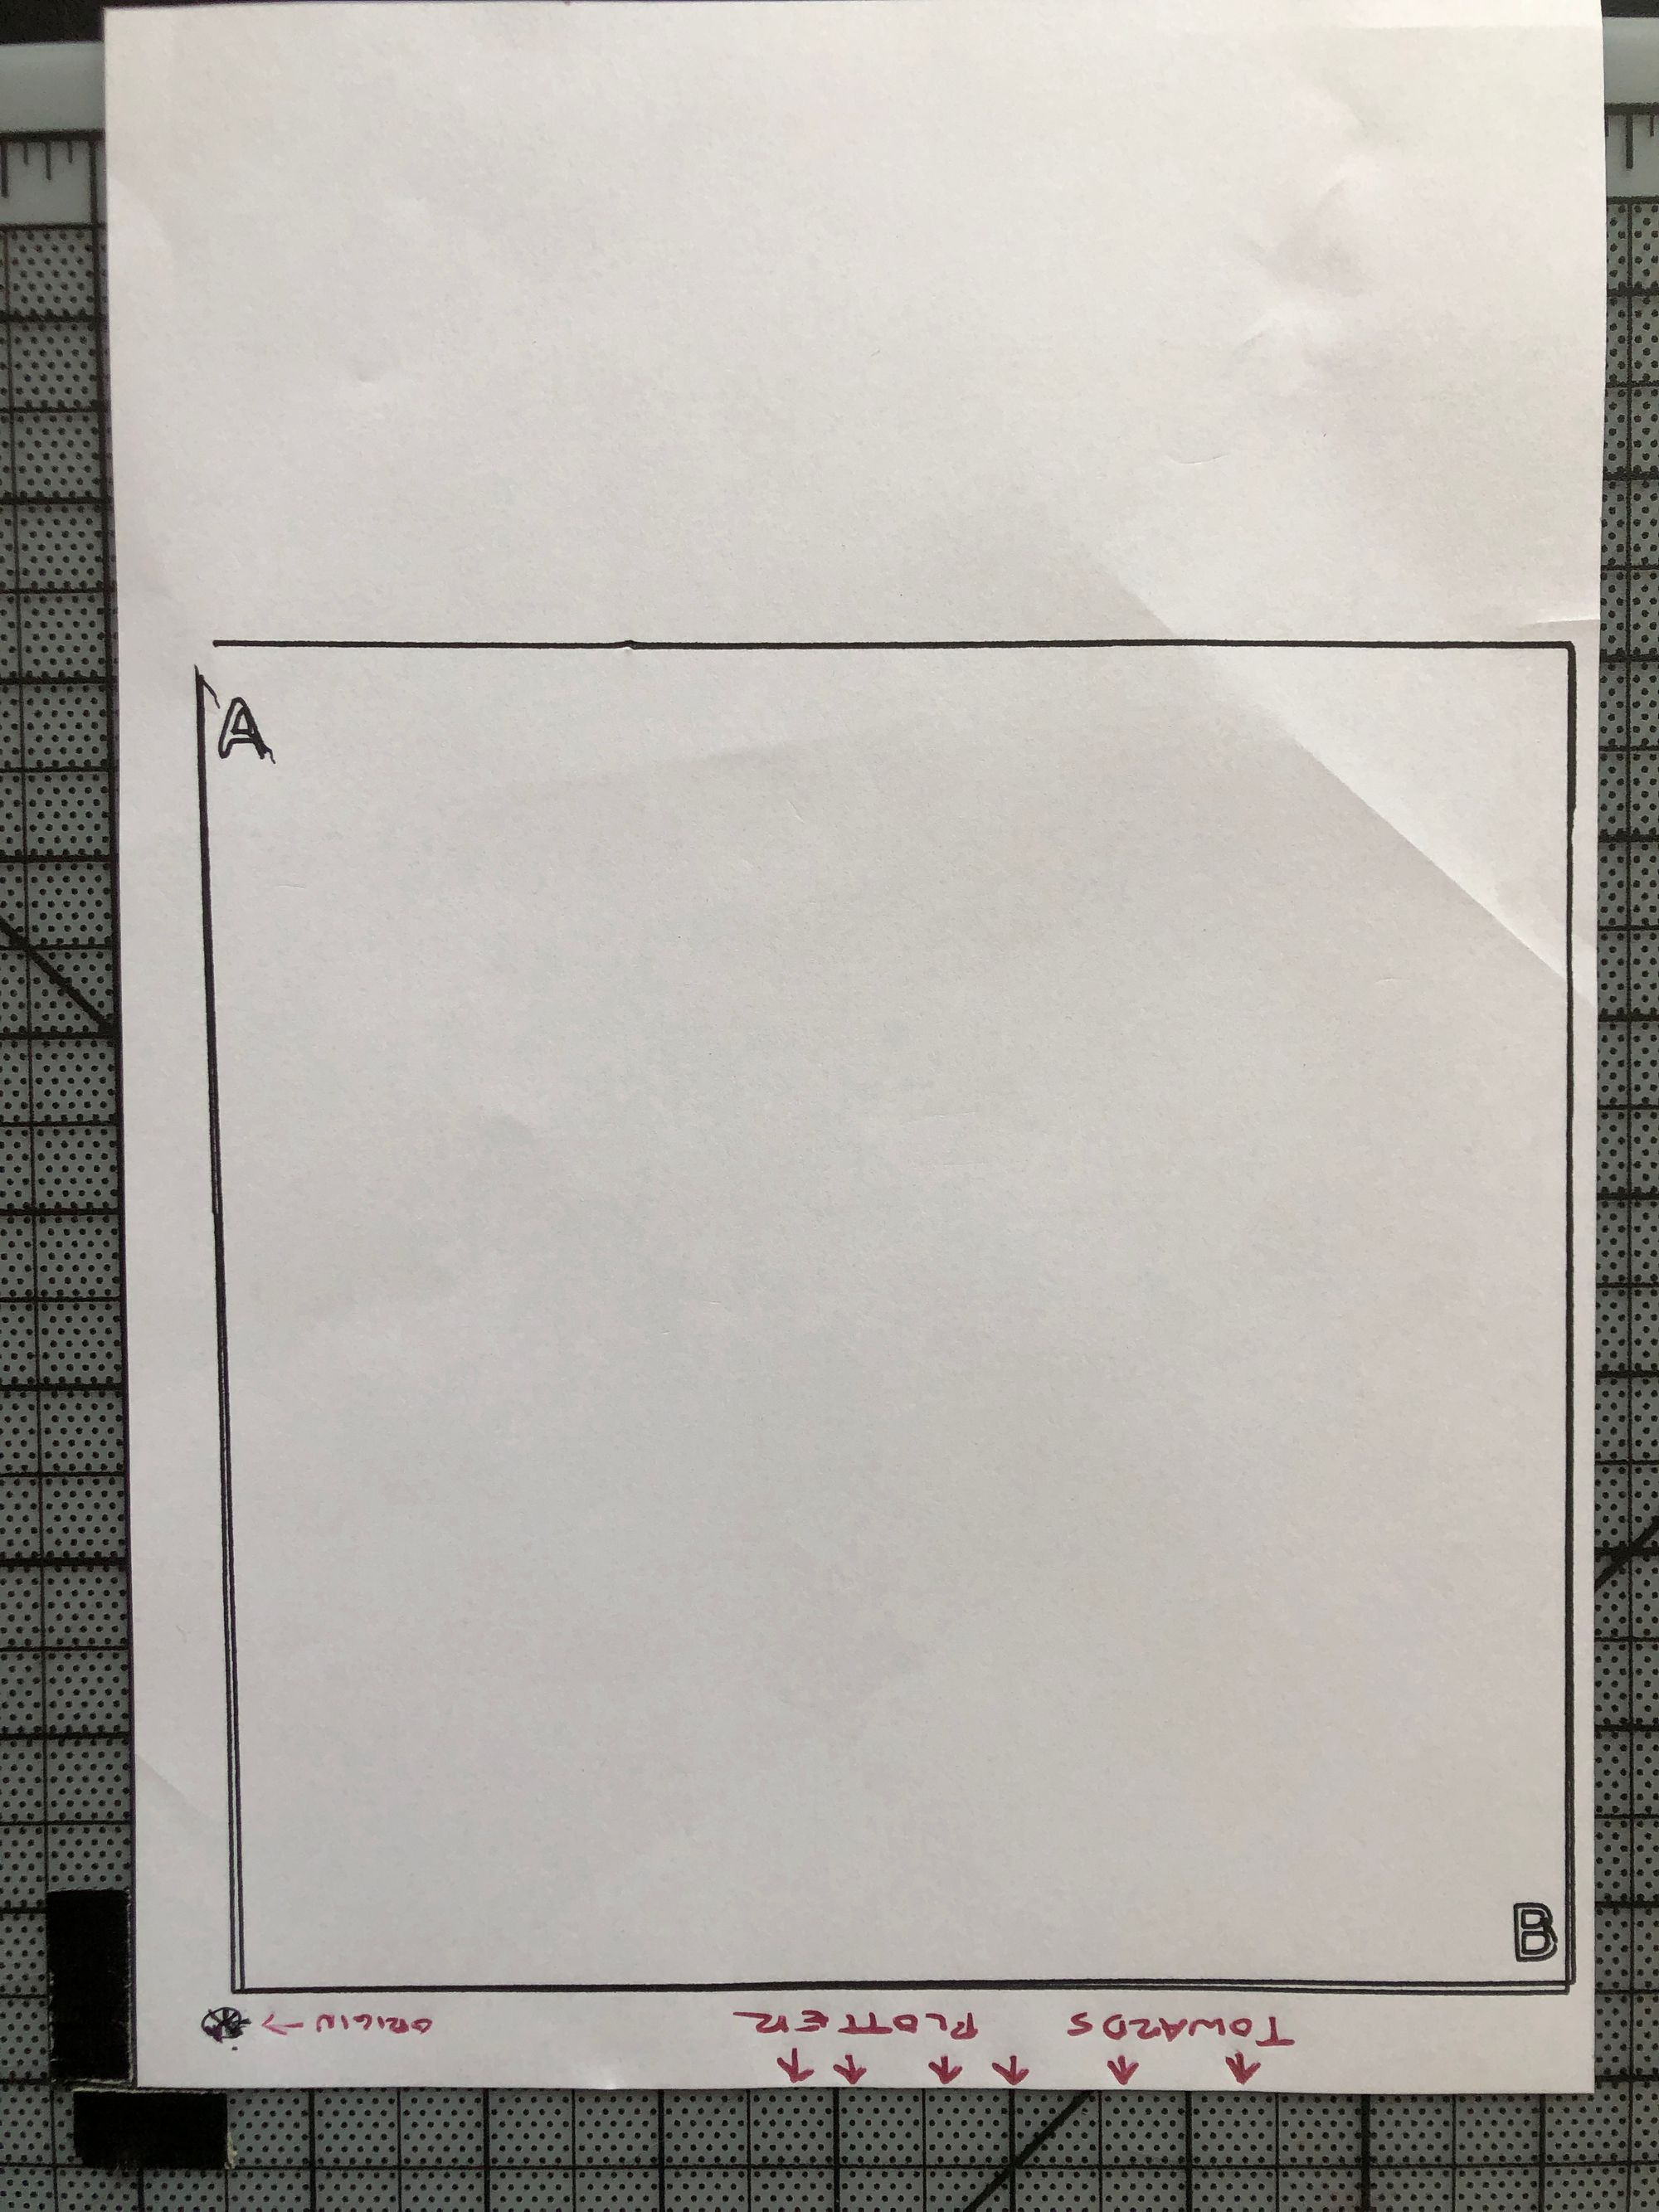
- UGS can "re-origin" your project, which can be useful, under menu "program / translate to zero." Otherwise I noticed that placing things in the lower left of an A4 document put them in negative coordinate territory and causing the plotter to try and eat itself. Alternatively, while drawing just use the upper half of your paper in the software and then slide the lower left of the A4 sheet to be the origin. The plugin ships with a default 200mm x 200mm "bed" and this seems reliable, although the bot can probably cover more area than this.

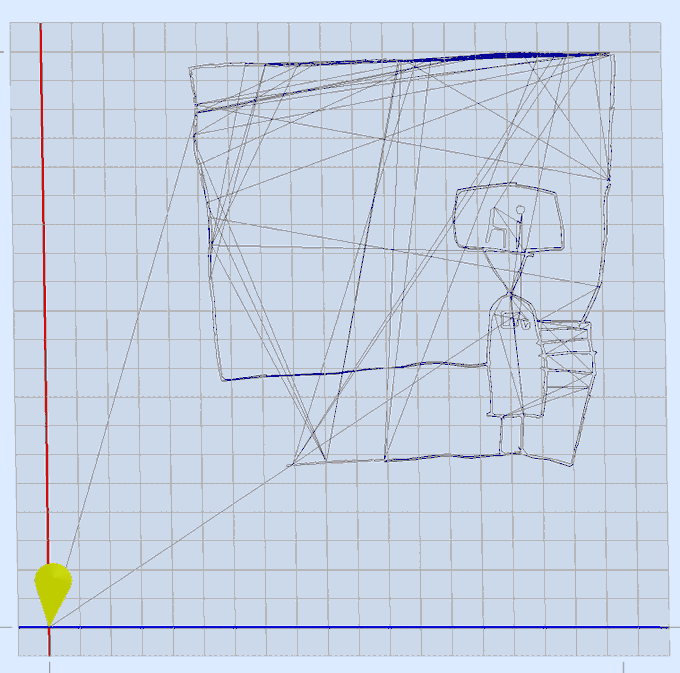
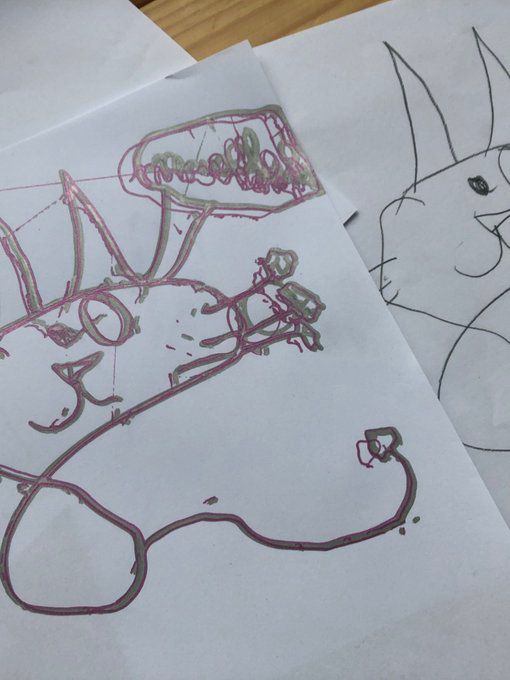
Another issue remains: The dotted hash lines at the top center of the green paper robot are from the pen dragging as it traverses to a new draw point, but that's the paper lifting off the "bed" because it was light and got some air under it. Cardstock works best, taping down paper works ok too. A vacuum bed would be amazing but probably overkill.
I'm aware I can simplify a drawing like these robot sketches first in software, but part of the fun is learning to get to know the qualities of this machine, how it generates lines and what the heck this "optimized" path actually is, because it's essentially random at this point.
Ultimately I want to slim the paths down to single lines, then treat this like a multi-screen color-printing process, varying the pens to get different line thickness and building up a drawing with layers.
Resources
- GCODE Tools
- Single Line Fonts suitable for plotting and cutting
💜 Is this project helpful to you? Please consider buying me a coffee ☕